.png?height=120&name=Authorify%20-%20Horizontal%20-%20Black%20(1).png)
Step 1: Login to Deadline Funnel
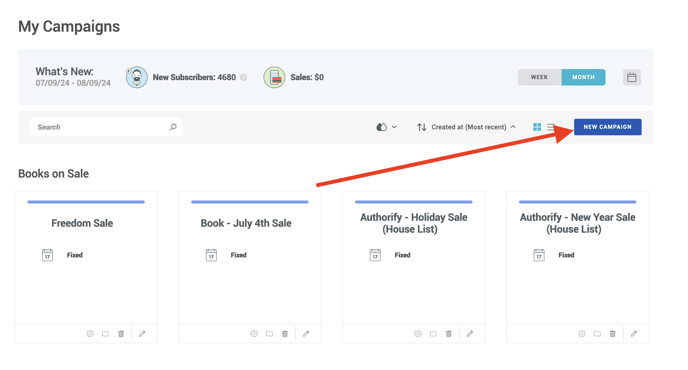
Step 2: Click New Campaign
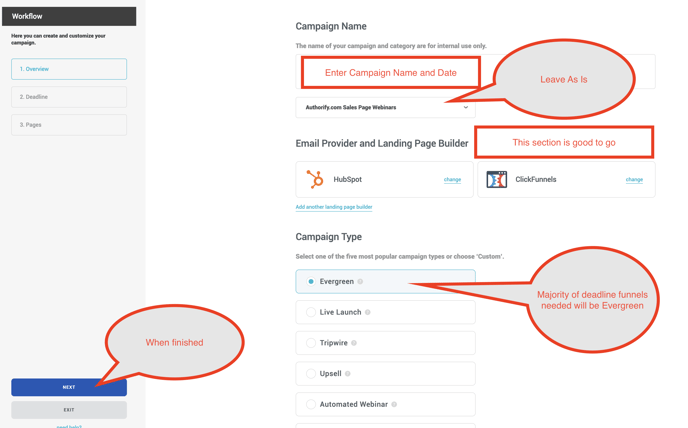
Step 3: Fill out the overview page
- Campaign Name: Add the name of the campaign and date (Month/Year)
- Campaign Type Dropdown: This will generally be Authorify.com Sales Page Webinars
- Email Provider and Landing Page Builder: Leave As Is
- Campaign Type: Most campaigns we create will be Evergreen
- Click Next Button
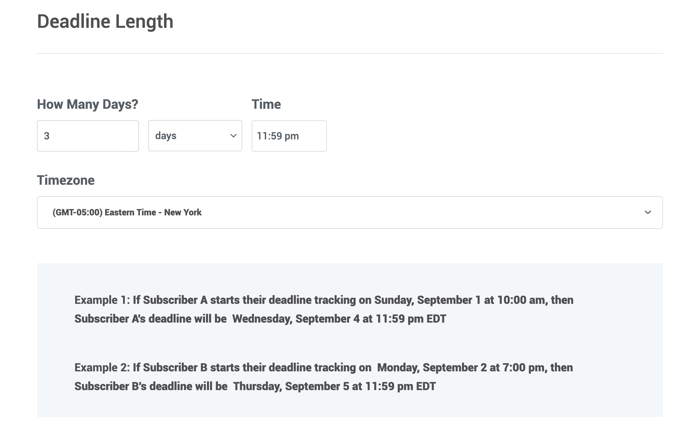
Step 4: Set The Deadline Length
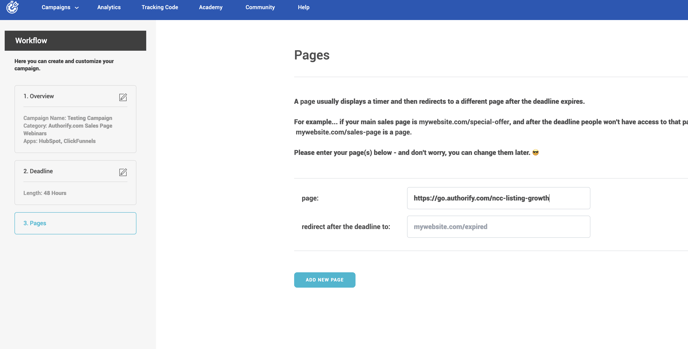
Step 5: Enter the URL of the page this deadline is intended for. (Make sure it is the actual URL a viewer will see)
Leave re-direct blank if you want viewers to be able to still view the page after the deadline expires.
Click the finish button.
Step 6: Customize the appearance
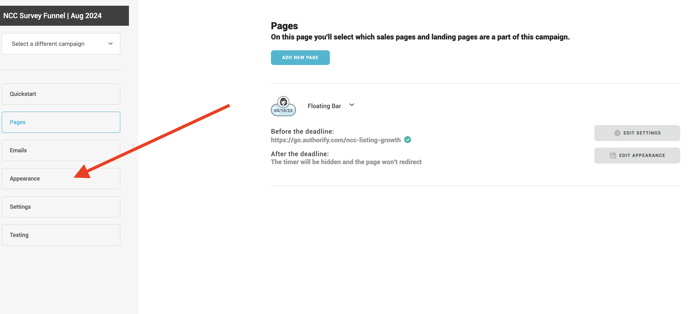
From this window, you can modify the appearance of the deadline bar. Customize from scratch or use a previously saved preset.
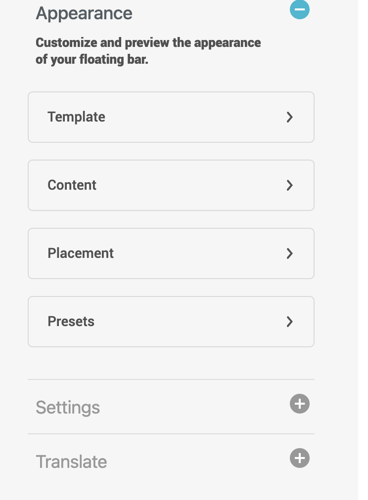
Note: From the settings tab, toggle on the "Maximize for Mobile" option to ensure the full context of the bar is shown on mobile
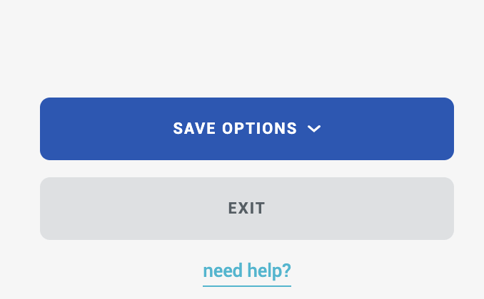
Step 7: Save your changes